Manage custom screens
Overview
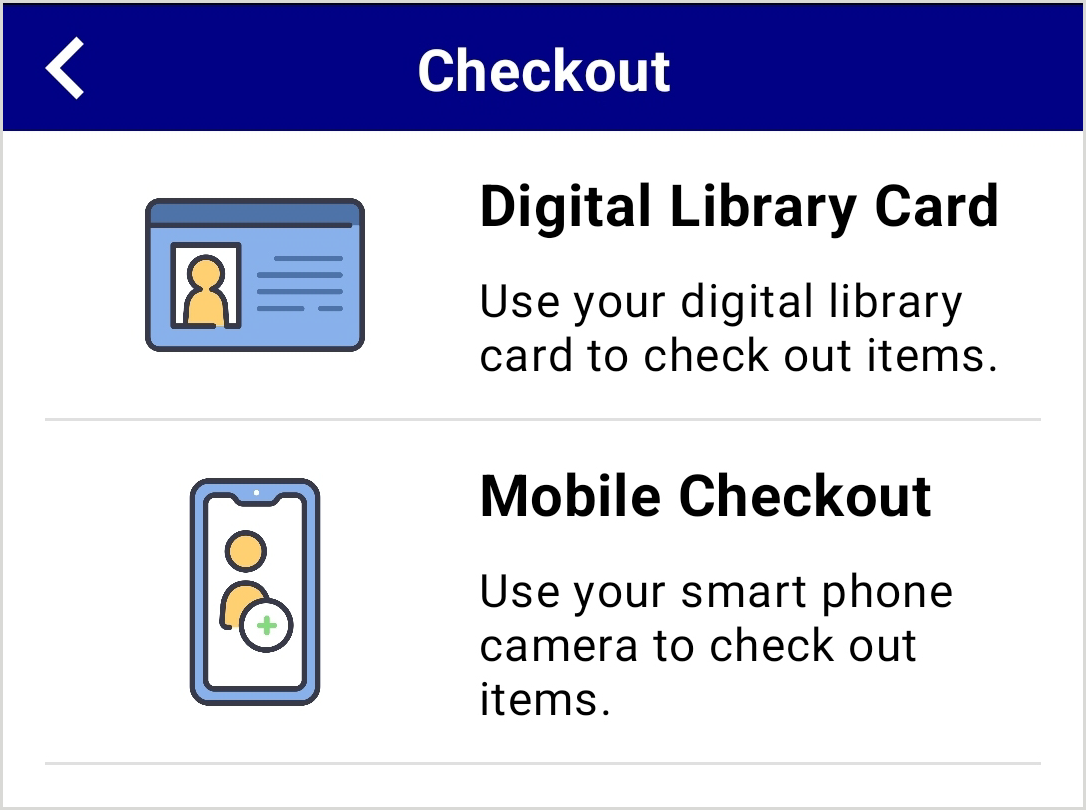
Custom screens are used to contain one or more buttons that link to other features or options within your app. For example, a custom screen called "Checkout" could contain buttons leading to the standard screens for Digital Library Card and Mobile Checkout.
Add a custom screen
Note: A custom screen will not appear on the Welcome screen or elsewhere in your app until it is linked to with a Button.
- From the left navigation, under the Elements menu, select Screens > Add Screen.
- For the screen you want to add, enter the:
- Screen Name - The name that will display for the screen in the dashboard. App users cannot see this field.
- Description - Limited to three lines of text. This description is only visible in the CapiraMobile Staff Dashboard.
- (Optional) For Screen Name, click Expand Translations to add one or more language translations. See Text field translations.
- Choose a layout style for the screen.
Note: A vertical row layout will allow for longer button descriptions than a grid layout.
- Vertical Row Layout - Buttons will display in a layout with one button per row.
- Grid Layout - Buttons will display in a grid-style layout with two buttons per row.
- Click Add Screen.
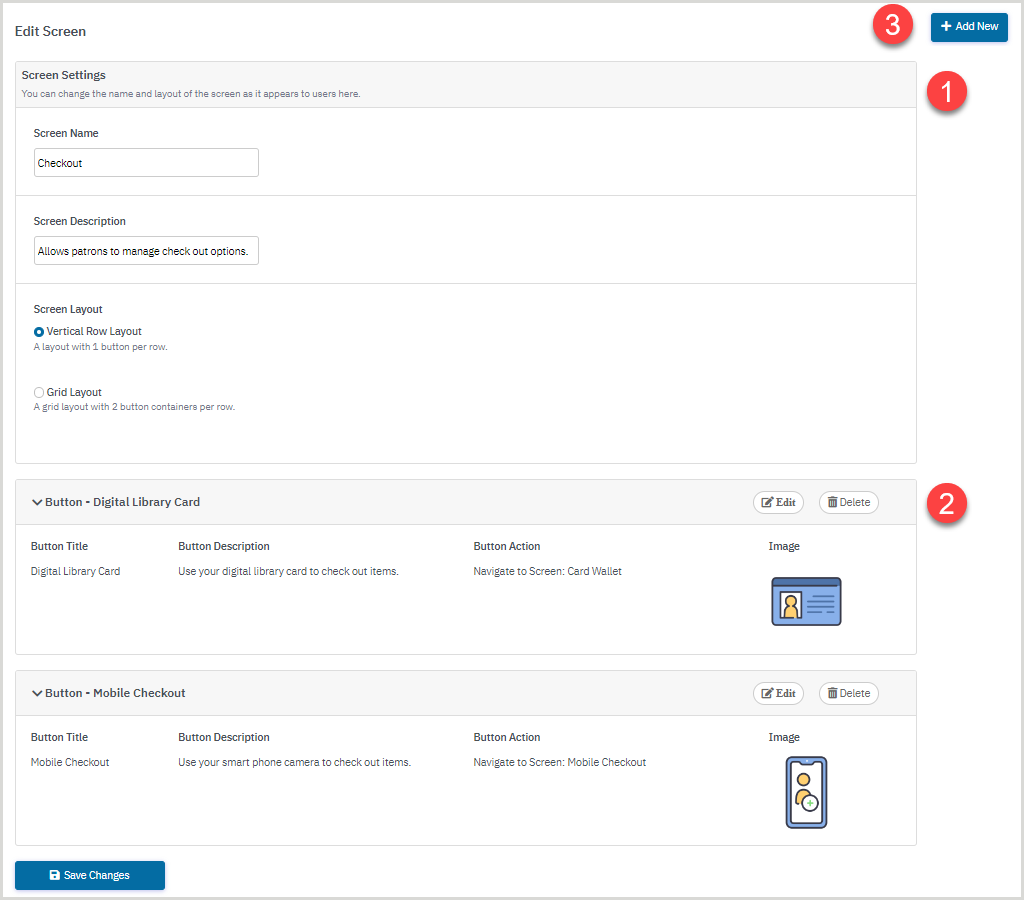
Edit a custom screen
When you manage a previously created screen you can update the name and description of the screen, as well as manage any Buttons that appear on the screen.
- From the left navigation, under the Elements menu, select Screens > Manage Screens.
- Select Edit Buttons in the Action row for the screen you want to update.
- The screen settings display, allowing you to edit:
- Screen Nome
- Screen Name Translations
- Screen Description
- Screen Layout (vertical or grid)
- The buttons on the screen, including adding, editing, deleting, and reordering buttons. See Buttons for more information.
- Click Save Changes.
Delete a custom screen
Note: If you delete a custom screen, you must individually delete any buttons linking to the screen from other screens where they appear. For more information, see delete a button.
- From the left navigation, under the Elements menu, select Screens > Manage Screens.
- In the Action row for the screen you want to remove, click the delete button (
 ).
). - In the Delete dialog, confirm that you would like to remove the screen.